1. Controller Introduction
Meet the Controller
There are two controller styles, as shown below: the older oval controller and the newer T-shaped controller. The robot arms at YMSH use the older controller, so this chapter focuses on that one.
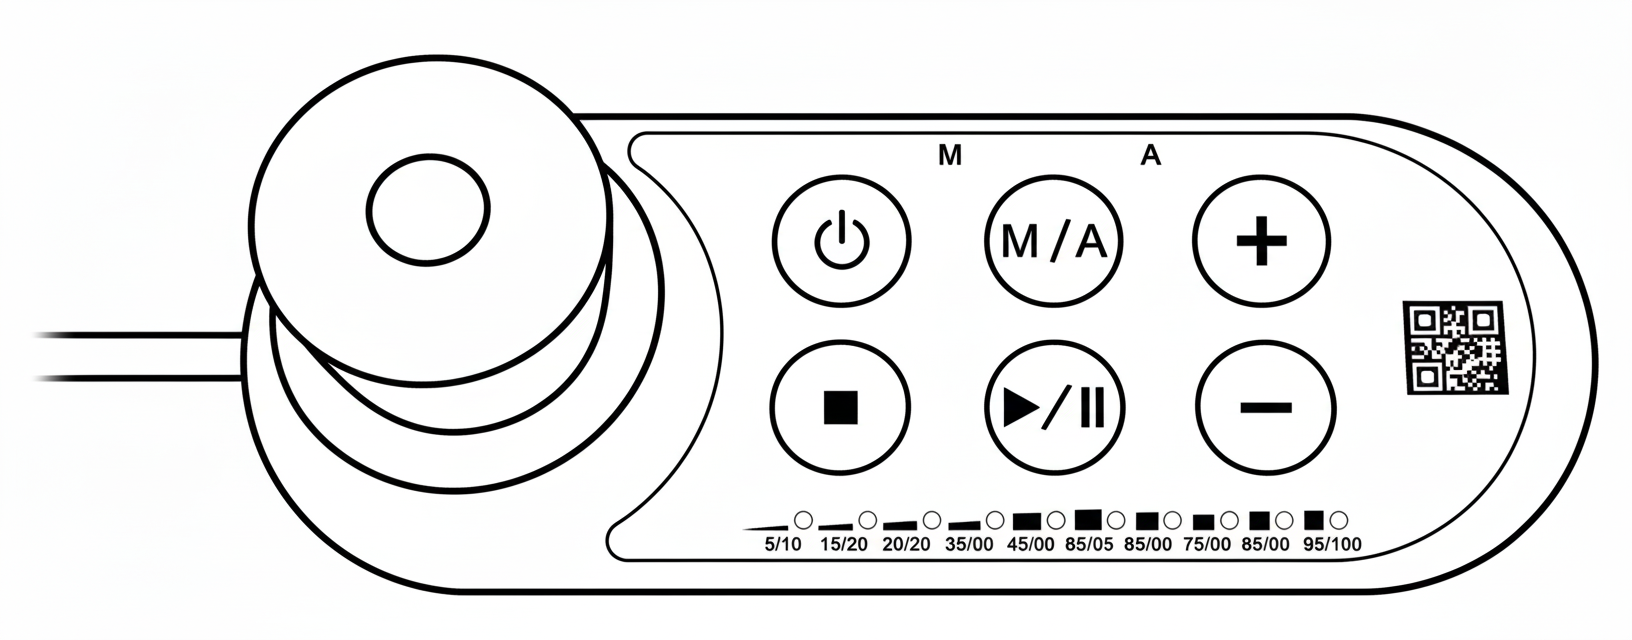 Old controller
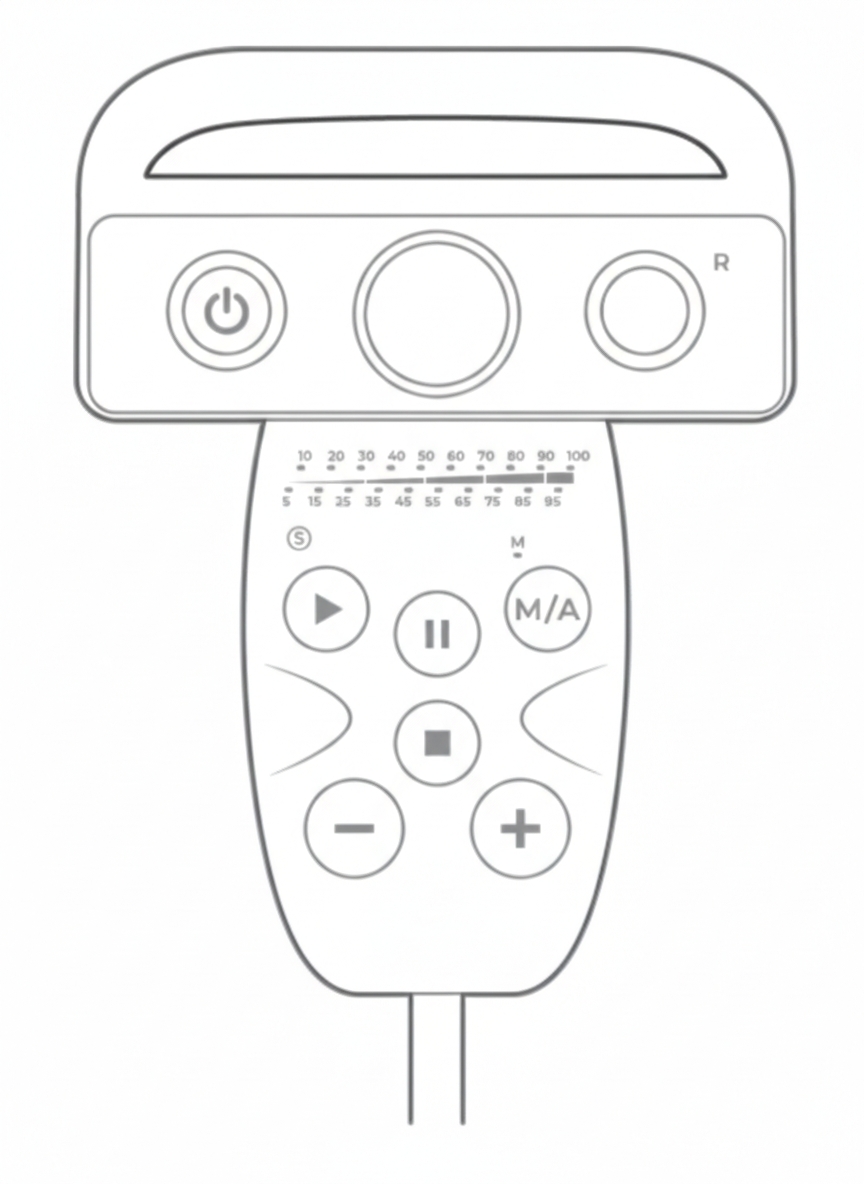 New controller
The Buttons
The Big Red Button
On the older controller, to the right of the six smaller buttons, there is a very big, very red button. That is the emergency stop.
Normally you do not need to touch it. Once it is pressed, the robot arm cuts power and stops immediately. In 99.99% of cases, you will not use it. But if you accidentally press it, for example by dropping the controller and slamming the button down, turn the red button clockwise all the way, then pull it upward to release the emergency stop.
The Six Small Buttons
To the right of the emergency stop are six function buttons. From top to bottom and left to right, they are:
POWER: used to power on the robot arm
STOP: stops a running project or motion, or exits certain pages
M/A: switches between manual and automatic mode; after startup, switch to manual mode before operating
PLAY/PAUSE: starts or pauses a project, and in some operations you must hold it as instructed
+: fine-tunes coordinate values, adjusts project speed, or is held during some prompted operations
-: fine-tunes coordinate values or adjusts project speed